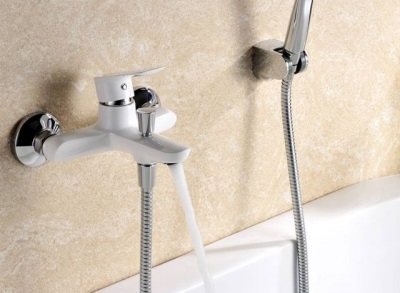
How to disassemble a single-lever mixer?
With the analysis of this type of faucets like single lever, able to handle any man. Often such manipulation is carried out at the spout clogging, leakage, jamming, formation of scale and other problems. Actions will depend on the type of faucet with a single lever and from the fault.
Features
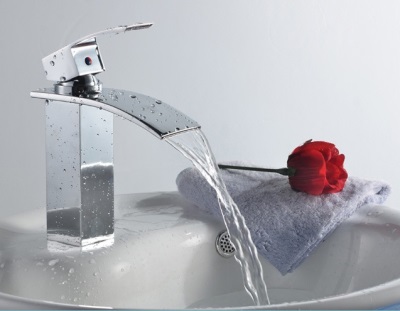
A mixer of this type is a faucet that has only one adjusting knob. Due to this structure, the flow of water in the mixer with a single lever is controlled by the movement of one hand.
Its main advantages:
- Quick retrieval of the spray desired temperature.
- Ease of control.
- Ease of repair that you can perform with their hands.
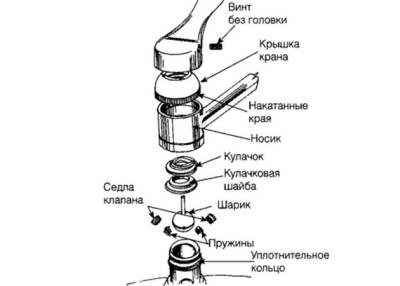
Device mixer single lever type
Getting two pipes to the mixer water is mixed to the desired user temperature and then passed to the output tube. Regulation as water temperature and jet strength is performed by moving existing inside the mixer bowl or plates of the cartridge.
Types
Faucets with a single lever are divided into:
- Ball. Their internal structure includes a hollow steel sphere with three holes. In two of them the water is inside the ball, and through a third – output mixed in the discharge nozzle. This ball is inside a ball sleeve, which also features a durable rubber seat. Under the pressure of the water jets ball is firmly in contact with these saddles. To move inside the mixer is used stock. The turns of the bowl change the water temperature and its pressure in accordance with the matching holes in the bowl. The greater the open hole, the stronger the pressure.
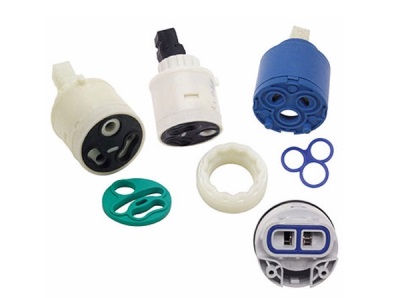
- Cartridge. The water inside these valves is mixed in the cartridge. These mixers are also called a disk because you can adjust the temperature and pressure of the spray valve of such faucets are ceramic-metal or steel wheels. The clearance between them acts as a chamber in which mixed water of different temperatures.
Instructions for disassembly
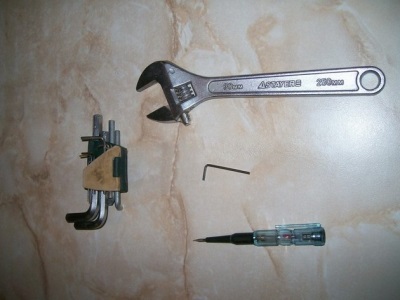
First of all, prepare the tools you will need to disassemble the faucet with a single lever.
You need to have:
- A flat head screwdriver.
- Wrench.
- Wrenches.
- Knife.
- Pliers.
Next your actions will determine the internal structure of the mixer. Do not forget before starting work to turn off the water supply.
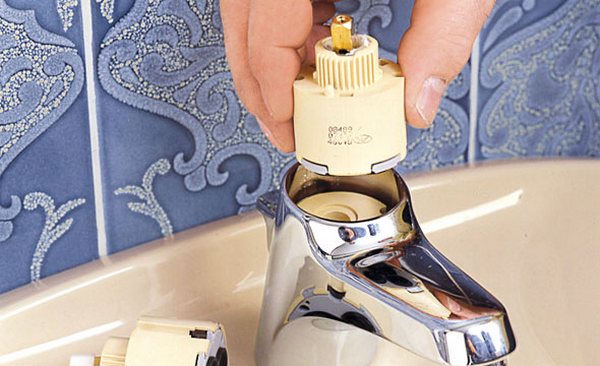
With ceramic cartridge
- Using a knife or a screwdriver, remove the plug from the red-and-blue mark.
- Unscrew the hex or screw driver screw, whose function is to hold the lever.
- Remove the control arm from the housing to see the upper part of the cartridge of the regulating rod and the clamping nut.
- Gently Unscrew the clamp nut, taking for such manipulation depending on the type of nut or wrench (for octagonal nuts) or a screwdriver (for round nuts, which has recesses and shoulder).
- Remove the cartridge, noting its location within the body.
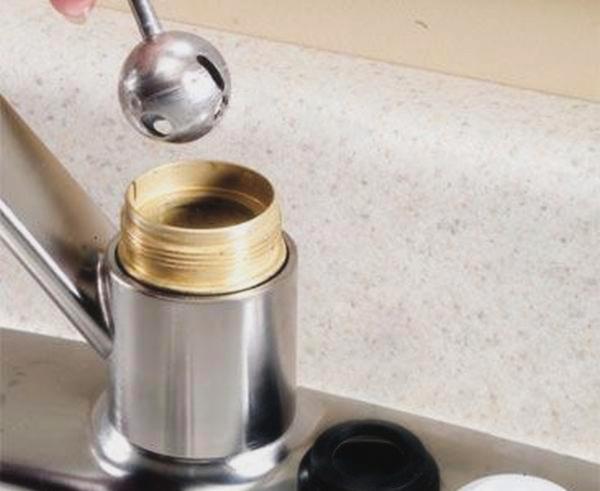
Ball
Analysis of this single lever mixer is carried out according to this scheme:
- Remove the handle by loosening the screw that holds it.
- Using a screwdriver, push down on the ring (its cavity), so that it turned counterclockwise, but not completely.
- Remove the dome with pliers, not deforming while underneath chetyrehsot ring.
- Unscrew the dome with a ring of plastic to test the connection, rotation and degree of contamination.
- Take the plastic thyroid detail, having cleaned it the black part (the seal). Sometimes the whole fault lies in the pollution of this part, so after cleaning the faucet is going back.
- If cleaning does not help, remove the crane ball and inspect it. If necessary, replacement ball set mixer new item, and then assemble the entire structure in reverse order.
Clearly see in the following video.
A mixer of this type quite often gets clogged in place of the spout of the faucet, which is manifested by weakened water pressure, but to correct the problem, you do not need to disassemble ball faucet. To clean the spout first remove the nut in the spout of the faucet. Remove the mesh, and after washing and blowing install it back, then return the nut to its place.
Replacement cartridge
After extraction of the cartridge from the mixer, you need to determine its diameter, because to replace a worn item should be identical. Choosing the same diameter of the new cartridge, it should be inserted into the housing exactly the same as inside the mixer was an old cartridge.
Make sure the tabs for fixing it correspond to the recesses in the housing. Also rate the condition of the sealing rubbers. It is desirable that they were silicone, such as rubbers more resistant to water and more elastic than rubber. After the installation of the cartridge assemble the mixer following the reverse order.