Quilted headboard by myself. Master class
A fairly detailed explanation of how to make a headboard, quilted
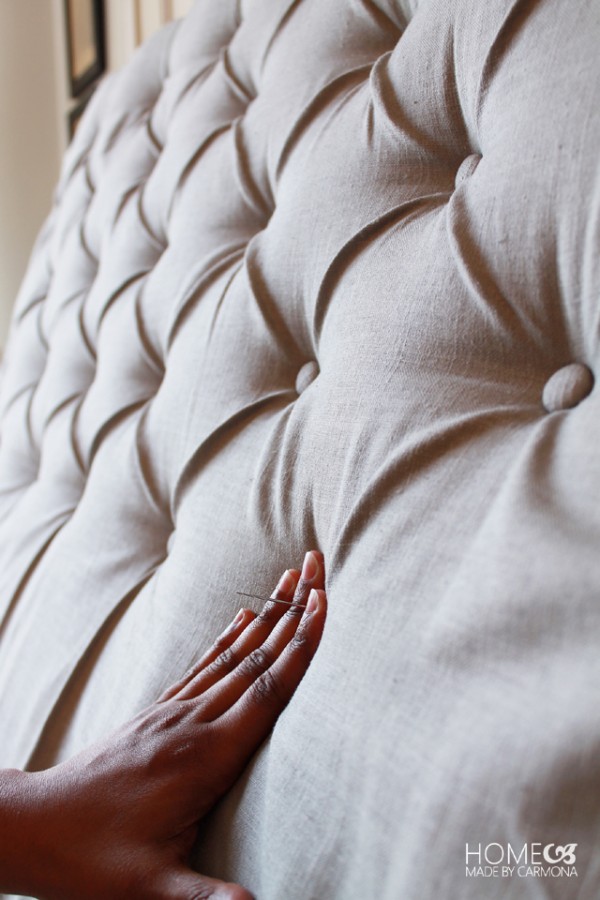
Materials from the American website ( and the story in the first person)
I needed:
– A sheet of plywood – thick enough
Next is the choice of fabric. The fabric we buy in the store for the furniture makers, there you can buy and foam. I took the thickest, but it is optional (there is parlon and at the Epicenter).
The next important detail is the buttons. I went to a Studio where I fitted cloth 42 buttons.
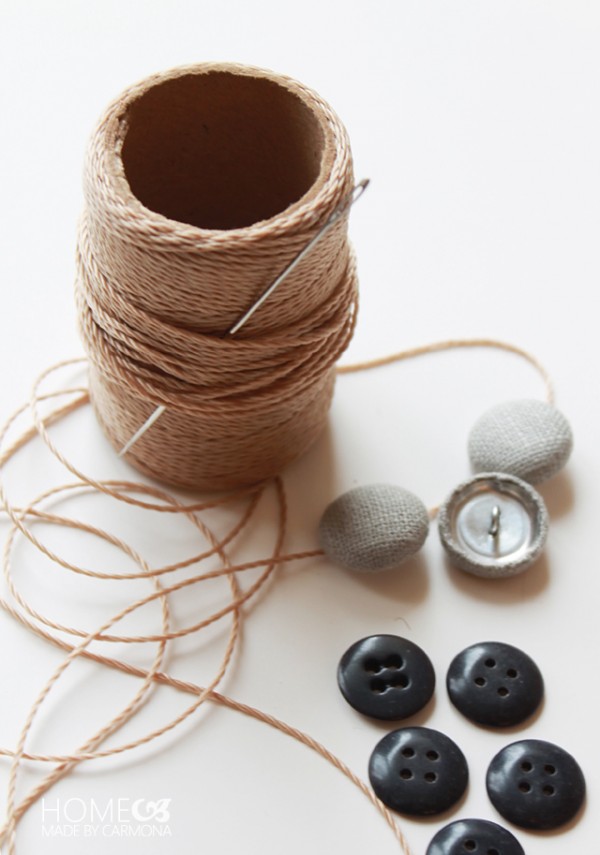
NOT TO REPEAT THE MISTAKES!
Any buttons under close-fitting have a plastic leg. It can not withstand the load and just bounces! So I had all the buttons change.
As it turned out, the metal buttons in the shops for seamstresses there! (It was weird).
So just go to the store for the military, where they sell shoulder straps, and BUTTONS! (By the way, the seller to find out how much I need buttons, I immediately asked – “furniture”? So I need in our city is not alone). And this military button-down in the Studio to stretch buttons)
I took 42 regular plastic buttons with holes in the puncture. They need to fix the thread on the wrong side of our backs. (Remember the fur coats, so they hold buttons).
– while the knit lining stretches for parlano that the padding does not slip.
– Still need grilka, a better husband with her hands. The planned holes directly on the plywood. Or staggered or in vertical rows.
– Thread. You can buy them at the fabric store or hardware store. The main condition – they must not be torn. At all! They can only be cut. I took the nylon thread.
Maby you will need to know how to made Furniture of barrels
Needle. It should be longer than the thickness of your back (plywood + foam +lining + fabric).
Needle in the process break down, take a few.
– Furniture stapler. Sold in hardware stores. There are plastic and metal. I bought the metal and immediately clamps to it. Take a plain, fit for different size of staples, it is an extra feature.
So, we are ready!
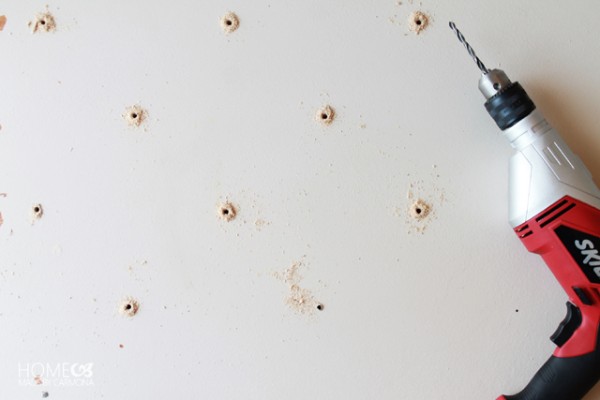
Take the plywood with nasverlennye holes (holes do a little bit more! than the photo, put the foam on top of the substrate. Pristrom.
Put on top of the upholstery . Pristrom.
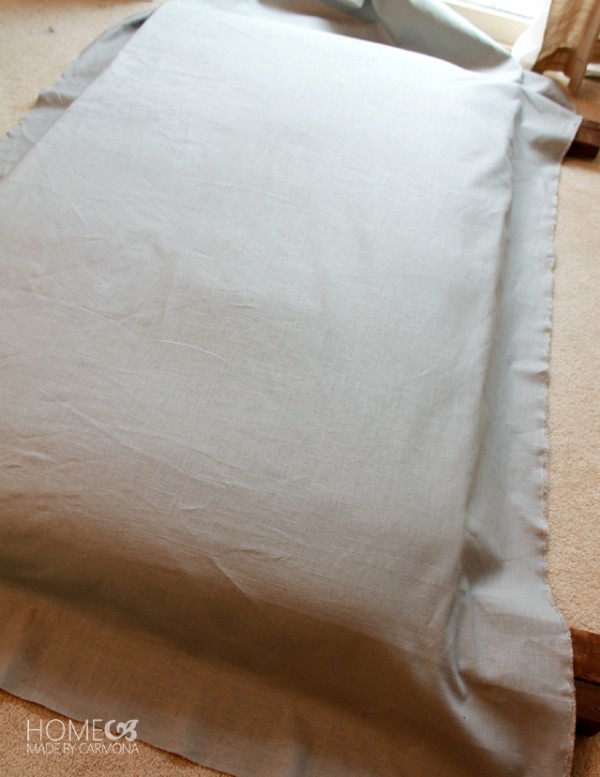
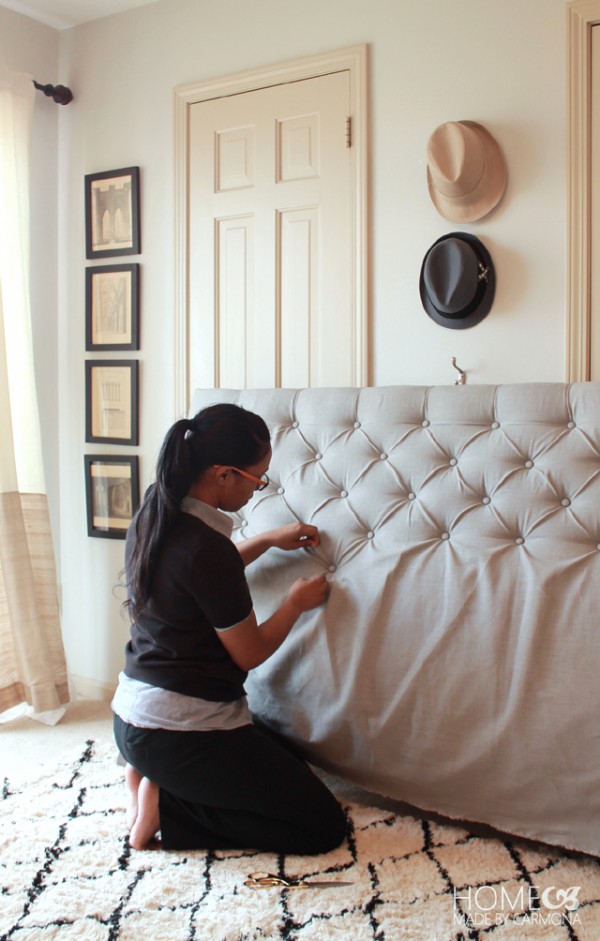
Planned on the fabric (upholstery) where are the buttons. Start protagonisti.
So, what I did:
1. Bring the needle from the inside there is a double thread, long. Long tail left on the inside out.
2. Cut the thread from the needle.
3. Insert into eyelet covered button closure and tying tightly with three knots. Cut the thread.
4. Pulling yarn for the tails that are left from the inside. Ostat we need (well, the one came with the drill). It from all force presses on obtenue button, and you from the inside tightly tied plastic button with holes.
5. Cut the excess thread, let go.
How to made design of children’s rooms for 2 or more kids
BEAUTY! And so all the buttons.
It remains to solve the last question – like the back to attach to the bed. I decided the cardinal question – NO way!
Went to a framing shop and bought two loops. The largest.
Pricilla them to the back (well, my husband got delkou be let go before the end of the process), on the wall – screws and hung on the back wall.
Native headboard Wapella (leaving only the legs to keep the bed still, Steaua) and put the bed to the back.
All can be admired.
Now, knowing the subtleties of the process and you will succeed!
